

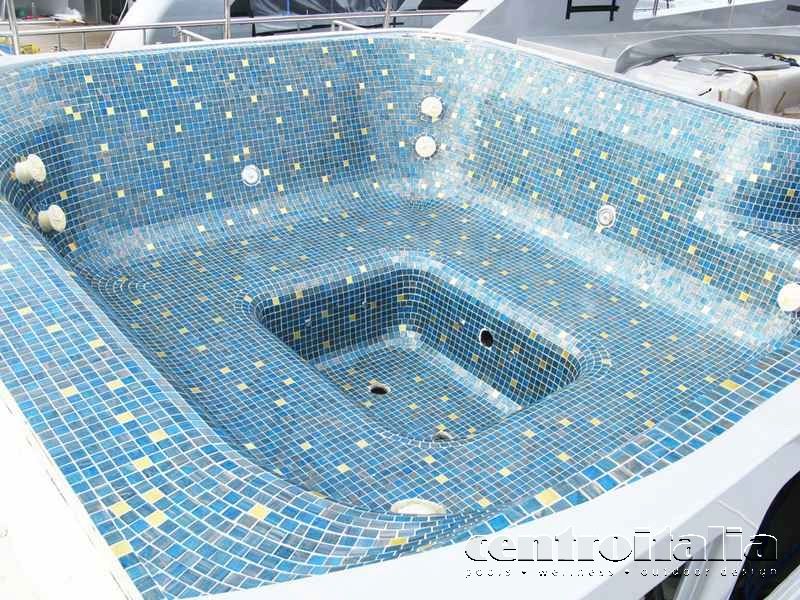
How to use mosaic coating in your yacht pool
Hydromassage pools on yachts, with their elegant mosaic finishes, are a symbol of luxury and sophistication. Mosaics provide an aesthetically pleasing and refined appearance, perfect for creating an exclusive ambiance. However, installing such coatings on a moving structure poses complex challenges. The ship movements and vibrations can affect the mosaic adhesion, leading to potential detachment or damage over time.
How to add mosaic tiles to your yacht pool
Yacht pools are generally built using materials such as stainless steel, marine-grade aluminum, or fiberglass, each with characteristics that influence mosaic installation. Here is an overview of the key steps for correctly applying mosaic tiles.
Surface preparation
Since yacht pools are custom-made, the surface cannot be leveled in the same way as traditional domestic pools. Due to the vibrations pools experience during navigation, it is crucial to ensure that the entire surface is perfectly smooth and free of imperfections. An uneven surface can compromise mosaic adhesion.
Mosaic installation
It is recommended to use 10 x 10 mm mosaic tiles for custom yacht pools, as this size fits curved surfaces better without the need for cuts, unlike larger tiles such as 20 x 20 mm. For proper adhesion, it is essential to use epoxy adhesive, which ensures greater resistance and durability, even in harsh marine environments.
Grouting
Grouting should be done using epoxy grout, which is resistant to water and chemicals commonly used in pools. This type of grout offers superior durability compared to standard grouts and helps preserve the integrity of the mosaic over time.
Common mosaic application problems
Despite careful application, issues may arise with mosaic tiles. Below are some solutions to common problems.
Detachment of a mosaic tile
If a tile detaches, the pool should be emptied, and the affected area thoroughly dried. Clean the surface with an appropriate cleaner, reapply the tile using epoxy adhesive, and immediately grout again the joint with the same epoxy grout to ensure proper adhesion.
Grout wear
If the grout is worn or missing in certain areas, it is likely that a standard pool grout was used instead of epoxy grout. Standard grouts degrade over time due to chemical exposure, such as chlorine and acids. In this case, remove the deteriorated grout and grout again completely with a new standard grout, as epoxy grout does not adhere well to non-epoxy grouts.
Discoloration or algae in the joints
If the grout darkens or develops algae, the pool should be emptied and cleaned with a specific cleaner. It is important to use a suitable product, as some cleaners may damage the grout, necessitating a new grouting process.
Dirty or stained mosaic tiles
If the mosaic tiles appear dirty or stained, empty the pool and clean the surfaces with a mosaic-specific cleaner. Again, take care when selecting cleaning products, as some may be too aggressive and damage the grout, requiring new grouting.
Additional tips
- During mosaic application on yachts, it is essential to choose materials resistant not only to marine environment but also to mechanical stresses.
- Using certified epoxy adhesives and grouts for nautical environments ensures optimal durability of the finish.
If the suggested solutions do not resolve your issues or if you need to purchase specific chemical products for yacht pools, please contact our customer service. We are available to provide all necessary information and offer personalized assistance.